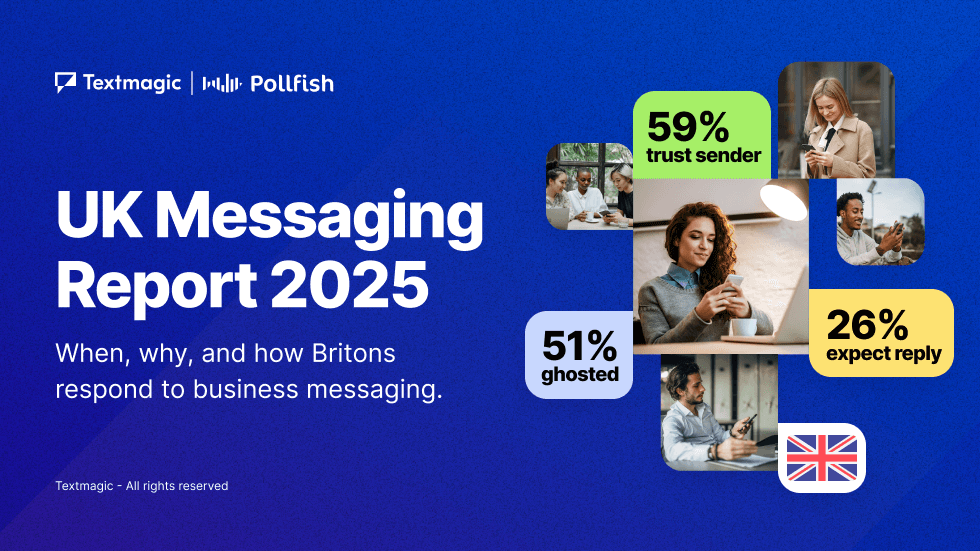
In our previous posts in this series (part 1, part 2 and part 3) we’ve looked at how to plan, design and deliver an SMS marketing campaign targeted at a a defined group of customers.
But one of the great things about an SMS campaign is that it can be a two-way conversation. Instead of simply broadcasting messages to your list of customers, you can also get replies. That means you can deal with queries, run instant contests and handle customer feedback.
(Importantly, it also means you can also receive ’stop’ messages from customers who no longer want to be on your list. It’s better to identify and delete those customers rather than continue to send them messages they don’t want, which is potentially illegal in some jurisdictions, and could in any case damage your brand.)
You manage replies by visiting the Reply Options page in your TextMagic control panel. Like all the other major pages in your control panel, it’s linked from the left hand nav. When you get there, it looks like this:

If you look carefully, you’ll see you have three broad options. First, you can direct SMS replies to the TextMagic server. This means you’ll be able to access them through either your control panel, TextMagic Messenger, your email account or (if you’ve set it up with your own web application) the TextMagic SMS API.
Second, you can choose to have replies sent to one of the mobile phones you have registered with TextMagic. This can be very useful, but beware: if you’re sending out hundreds or thousands of messages, dealing with a similar volume of replies on your mobile could be a difficult task! On the other hand, it does mean that your recipients get the message “from” your mobile number – so it’s ideal if you’re using TextMagic to send text messages to a relatively small number of friends, colleagues or important customers.
Third, you can use a Sender ID. When you do this, the “sender” field in the message your customers receive will contain a name, not a number. You might have had messages with Sender IDs yourself – for example, your phone company might have seny you a message that simply appeared to be from “Vodafone” or “O2″ or whatever. Sender IDs are great for branding – they look very professional. However, you can’t accept replies to Sender ID messages through TextMagic, and you have to apply for your chosen Sender ID in advance, in case someone else is already using it. (We automate the application process for you – just click the “apply for Sender ID link” on the Reply Options page.)
Replies in detail
Let’s have a closer look at how some of the reply systems work. If you choose to receive replies via the server, you’ll see from the screenshot above that you have three sub-options. You can choose just one option, or two or three if you wish.
First option: messages are sent to your online TextMagic inbox, which you access from the left hand nav of your control panel. It looks like this:

Messages are stored in your inbox until you delete them. As you can see, there’s a quick reply option that allows you to respond to your customers fast. In fact, all three options let you do this. The beauty of the TextMagic inbox is that it allows you to keep all your replies in one place, alongside all the other data you use for TextMagic. As such, we recommend that even if you have replies sent to your email address or to TextMagic Messenger, you also have a copy sent to your TextMagic Inbox.
Second option: have messages sent to TextMagic Messenger. If you don’t already use Messenger, you can download it (for Windows or Mac OS X) from the Downloads section of your control panel. It’s a handy desktop tool that lets you send and receive texts via TextMagic, but doesn’t require you to have the TextMagic control panel open in a browser. Here’s what the message inbox looks like:

Third option: have messages forwarded to your email inbox. This is useful because it helps you keep track of your campaign and on top of replies via your email application, which most people have open all the time – in other words, you don’t have to remember to log into the TextMagic control panel or TextMagic Messenger to check for replies. When messages arrive they look like this:

Replying to an SMS you’ve received via email is as quick and simple as if you were using the TextMagic control panel or Messenger. You just need to make sure that the email address you’re replying from is registered to send text messages via TextMagic (which you can do in your control panel, under the Email to SMS settings). Just hit reply, and you email application will set up an email to 07123456789@textmagic.com, where the number is the number from which the reply has been received.
The only thing you need to be a little careful with if you’re receiving replies via email is that you will only get them as fast as your webhost or mail provider can deliver them. If their mailserver is a little slow, you might get a delay. That shouldn’t be a problem, but it’s worth bearing in mind if you’re running SMS marketing campaigns that depend on being able to deal with customer responses quickly.
OK, we’re nearly done! In the next – and final – post in this series, we’re going to look at ways of maximising ROI from the SMS campaigns you run through TextMagic.
Send SMS To 200+ Countries. Instant Activation!


View SMS Prices